Notebook Inputs
The inputs tab of your notebook configuration allows you to generate datasets from your devices and data tables. Those datasets can then be used within your notebook file to find deeper insights into your IoT application.

To edit a notebook’s input datasets, click the “Inputs” tab after navigating to one of your application’s notebooks. Note: Upon first creating a notebook, this is also the tab to which you will be redirected as configuring inputs is often the next step in the notebook creation process.
Using Notebook Inputs
The contents of the files generated by your input configurations can be used as datasets within your Jupyter notebook.
File Names
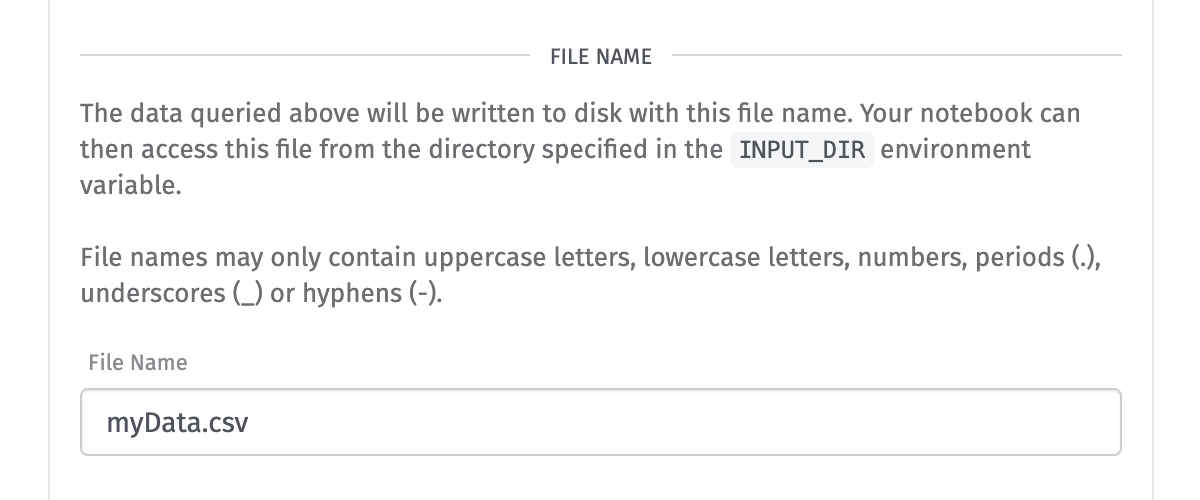
In addition to the extra configuration options for each input type as outlined below, each input also requires a File Name, which is the name of the file as it will be written to disk with the contents of the input’s dataset. These names either must be templates or …
- Must be unique across all inputs for the notebook
- May only contain uppercase letters, lowercase letters, numbers, periods (.), underscores (_) or hyphens (-)
- Should (but are not required to) match the file extension of the input
Referencing Generated Files
Each file can be referenced by its file name within the directory defined at the INPUT_DIR environment variable.
For example, to reference a device data input file called myData.csv as a variable called myData, your Python code would resemble the following:
import os
import pandas as pd

myData = pd.read_csv(os.path.join(os.environ['INPUT_DIR'], 'myData.csv'))
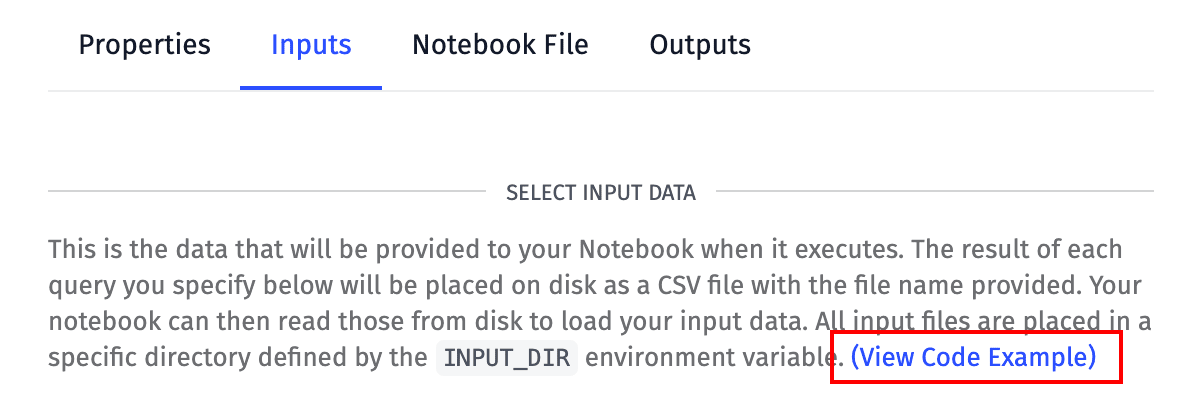
You may view a Python code example matching your current notebook configuration by clicking the “View Code Example” link at the top of the Notebook Inputs page.
Configuring Notebook Inputs
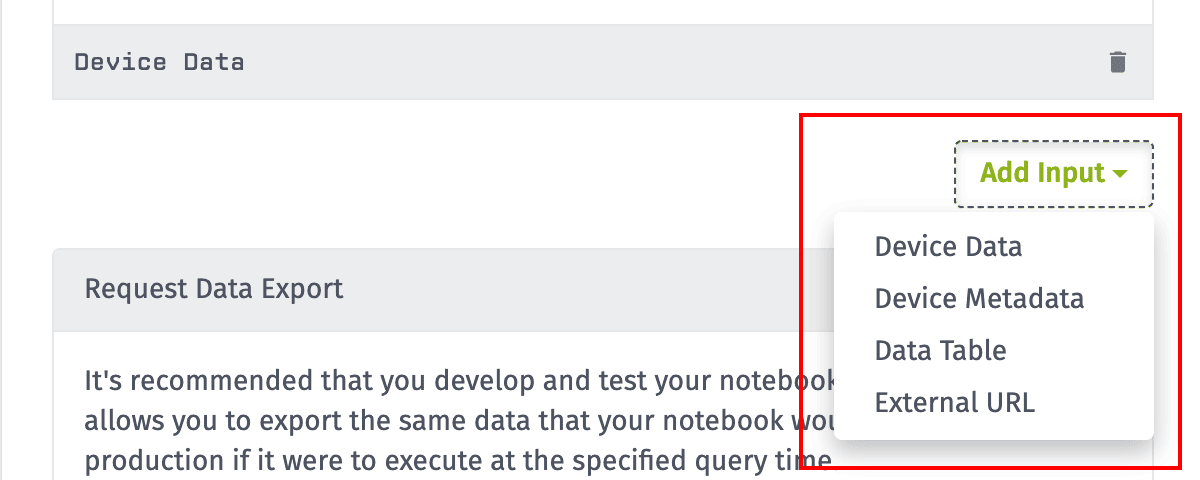
To add a dataset to your notebook, click the “Add Input” dropdown and choose the type of input you would like to add. There are four different types of data you can use within a notebook …
Device Data
Most notebooks will generate insights based at least in part on your application’s device state data: the regular reporting of sensors, registers and location information over the life of a device. A great deal can be learned about your IoT solution as a whole when analyzing these large datasets within a notebook.
Selecting Device Data Devices
First, enter a device query for all the devices whose data you need. The data for any device that matches the given query will be available in your input data.

Selecting Attributes
By default, your input dataset will include all attribute data from all devices returned in your device query. However, you may choose to return only data from a specific set of attributes. If choosing this option, you must select at least one attribute for which to return data.

Time Range
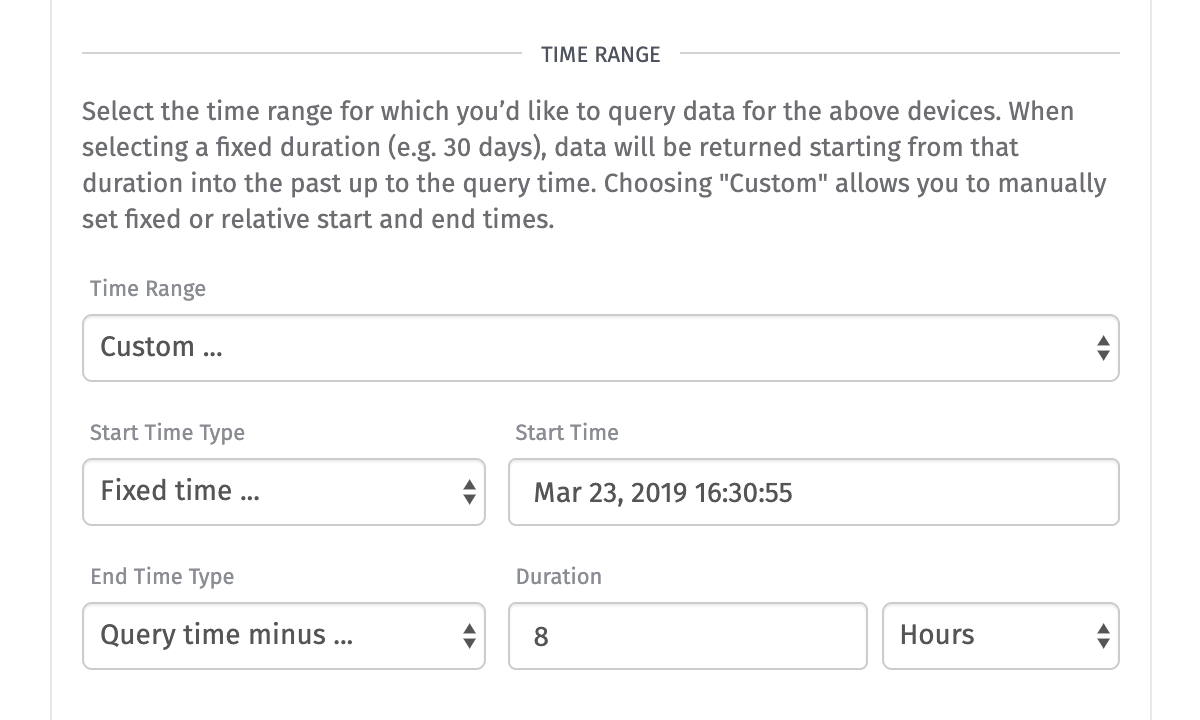
Generating this dataset requires defining a time range for the data to include in the input file. For most use cases, you will want to return a fixed duration that falls on a natural time breakpoint (such as 60 minutes, 24 hours or 30 days). You may choose one of these predefined options for quickly building such a dataset from the “Time Range” dropdown menu.
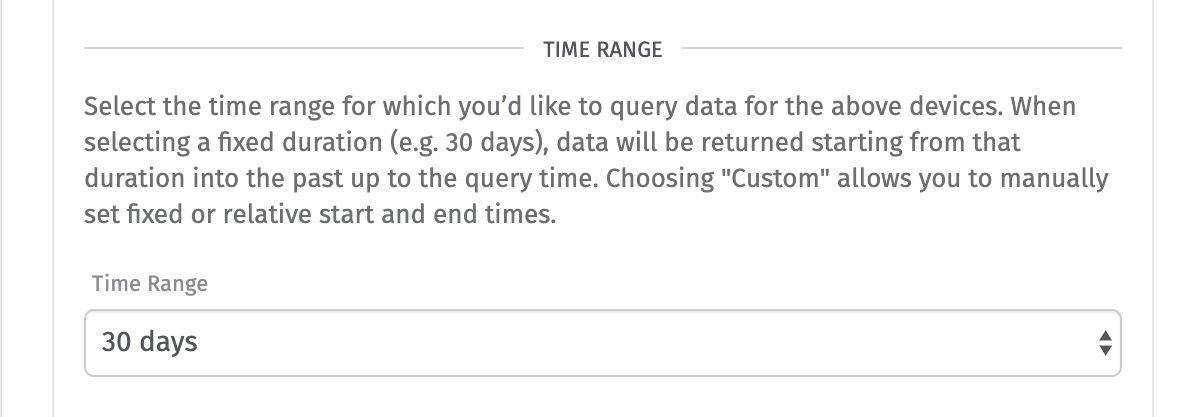
In some cases, you may need a more specific time range, in which case you may choose the “Custom” option. Doing so will present you with a series of inputs for defining your time range’s start and end time. Each end of the range can be defined one of two ways:
- Fixed time: This allows for using a specific date and time in the past at which to start or end your dataset. This can be useful for analyzing how your application is evolving over its entire lifetime. Note: Data returned using a fixed start time is still subject to your account’s data retention limits, and as that start time falls behind the limit, you will need to adjust this value.
- Query time minus: This allows for defining times that are relative - in a number of days, hours, minutes or seconds - before the notebook execution’s query time. This can be useful for week-over-week comparisons and the like.
Device Data Format
The result of the query will be written to disk as a comma-separated value (CSV) file with the following columns:
- ID: Values within this column correspond to the alphanumeric IDs of the devices returned within your query.
- Timestamp: These values are numbers corresponding to the Unix timestamp (in milliseconds) at which the device ID in the previous column reported state data.
- [ATTRIBUTE]: For each attribute requested in the query — or, if all attributes were requested, each attribute that had at least one state report of its value in the selected time range — a column will exist matching the attribute name. The types of values will vary depending on the attribute type.
| ID | Timestamp | aNumber | aString | aGps | aBoolean |
|---|---|---|---|---|---|
| 589de9bca1975a00017b2291 | 1553090718000 | 42 | red | 0 | |
| 589de9bca1975a00017b2292 | 1553090718000 | -8.54 | 1 | ||
| 589de9bca1975a00017b2293 | 1553170818000 | 67.12 | blue | 33.448,-112.074 | 0 |
| 589de9bca1975a00017b2291 | 1553170818000 | 44 | red | 0 |
Each row in the file corresponds to a single state report from a single device, so the combination of ID and Timestamp per row is unique within the file. Any attribute column for which a value was reported under that device/timestamp combo has a value in that row, otherwise, the cell will be blank.
Device Connection History
A device connection history input generates a comma-separated value (CSV) file containing a connection status log for the queried devices. No state data is included.
The CSV file contains the following columns:
- ID: Values within this column correspond to the alphanumeric IDs of the devices returned within your query.
- Timestamp: These values are numbers corresponding to the Unix timestamp (in milliseconds) at which the device ID in the previous column connected or disconnected.
- connected: Whether the device was connecting (1) or disconnecting (0) at the the time in the previous column.
If the device was disconnected, the following columns will also be populated:
- disconnectReason: A reason for why the connection was ended.
- messagesFromClient: The number of messages this device had sent since its last connection.
- messagesToClient: The number of messages this device had received since its last connection.
| ID | Timestamp | connected | disconnectReason | messagesFromClient | messagesToClient |
|---|---|---|---|---|---|
| 589de9bca1975a00017b2291 | 1553090718000 | 1 | |||
| 589de9bca1975a00017b2292 | 1553090718000 | 1 | |||
| 589de9bca1975a00017b2293 | 1553170818000 | 1 | |||
| 589de9bca1975a00017b2291 | 1553170819000 | 0 | “Connection Lost” | 1385 | 0 |
Device Metadata
A device metadata input returns only configuration information about the devices within your application. No state data is included in the dataset.
In most cases you will create a device metadata input whose device query matches a corresponding device data input; then, you can create a mapping of the IDs from the device data input to their human-readable properties within the metadata input.
Note: The values returned in this query will be for the device configurations as set at the time of import generation. For example, if you set a query time for 30 days in the past, the result of the metadata query will not be the device configuration as it existed 30 days ago, but as it exists now.
Selecting Device Metadata Devices
Selecting devices here behaves the same way as it does for selecting devices in the device data input type.

Device Metadata Format
The device metadata will be written to disk in a CSV format; the file will have the following columns:
- ID: Values within this column correspond to the alphanumeric IDs of the devices returned within your query.
- Name: These are the human-readable names given to the devices corresponding to the IDs in the previous column.
- Description: If a description was provided for a device, it will appear in this column.
- Class: This corresponds to the device type set for each device.
- tag-[TAG_KEY]: For each unique tag across all the devices returned in the query, there will be a column corresponding to that tag. If a device has a value defined for that key, the value will appear in its respective column. Note: If any of your devices has more than one value set for a specific key, there will be additional “tag” column(s) matching the maximum number of values of that tag on any one device. For any device that does not have multiple values for such a tag, the extra column(s) will be blank.
| ID | Name | Description | Class | tag-hardwareId | tag-ownerId | tag-ownerId | tag-initialized |
|---|---|---|---|---|---|---|---|
| 589de9bca1975a00017b2291 | Engine | Diesel backup generator | standalone | 5a8d99177e9707000769fec0 | 589de9bca1975a00017b2295 | 5c8bcff0618498000639b9d2 | true |
| 589de9bca1975a00017b2292 | Thermostat | peripheral | 5ab3c072eaf054000782fe32 | 589de9bca1975a00017b2295 | |||
| 589de9bca1975a00017b2293 | Gateway | Handles reporting from all second-floor sensors | edgeCompute | 589de9bca1975a00017b229a | 589de9bca1975a00017b2297 | false |
Each row in the file corresponds to a single device returned in the metadata query.
Data Table
Data table inputs return rows from one of your application’s data tables. You may only return the contents of one data table per input; however, you may create multiple inputs that query multiple data tables (or even the same data table).
Selecting a Table
First, choose a data table from which to return rows for use in your notebook. This is required.

Query
You may optionally return a limited set of the rows from your data table by providing a data table query. Not providing a query will return all of the table’s rows.

Note: Like device metadata inputs, data table inputs return rows as they exist at the time of input generation, not as they were at the provided query time.
Data Table Format
The result will be written to disk as a CSV file with the following columns:
- id: This is the unique ID of each row in the data table.
- [COLUMN]: For each column in the table, there will be a corresponding column in the CSV. The format of the data will depend on the column type.
- updatedAt: This is the timestamp in ISO 8601 format at which any value in the row was last updated.
- createdAt: This is the timestamp in ISO 8601 format at which the row was created.
| ID | name | description | location | updatedAt | createdAt |
|---|---|---|---|---|---|
| 5c744e0c08c3220006e23adc | Widget 2.0 | Cincy | 2019-01-15T22:50:44.399Z | 2019-01-15T22:50:44.399Z | |
| 5c744e0c08c3220006e23adb | Widget 1.0 | 2019-01-15T22:50:44.399Z | 2019-01-15T22:50:44.399Z | ||
| 5c744e0c08c3220006e23ada | Widget Alpha | Device For Bob | Texas | 2019-01-15T22:53:31.902Z | 2019-01-15T22:50:44.399Z |
Event Data
Event data inputs return historical data from your application’s events.
Event Query

You may filter the returned event data by providing an event query, the filtered result will be written to disk as a CSV with the following columns:
- ID: This is the unique ID of the event.
- Creation Date: This is the timestamp in ISO 8601 format at which an event was created.
- Last Updated: This is the timestamp in ISO 8601 format at which an event was last updated.
- Source ID: This is the unique ID of the event’s creator.
- Source Type: The type of the event’s creator. It will be one of: “flow”, “user”, “device”, “apiToken”, “experienceUser”, or “public”.
- Level: One of four values: “critical”, “error”, “warning”, or “info”.
- State: One of three values: “new”, “acknowledged”, or “resolved”.
- Subject: This is the event’s title.
- Message: This is additional information pertaining to an event, much like a description to accompany the subject.
- Device ID: If the event has an associated device, that device’s unique ID will appear in this column.
- Data: This is an optional JSON object that may contain additional data about the event.
- Update Number: This is the position in an event’s history that an update took place.
- [TAG]: For each event tag, there will be a corresponding column in the CSV.
| ID | Creation Date | Last Updated | Source ID | Source Type | Level | State | Subject | Message | Device ID | Data | Update Number | Customer |
|---|---|---|---|---|---|---|---|---|---|---|---|---|
| 5c744e0c08c3220006e23adc | 2019-12-03T21:35:41.886Z | 2019-12-03T21:38:37.921Z | 5d65841f1883530006f8b513 | flow | error | new | Low Power | Replace battery in device 1 | 5db74712edeaea00063c0c1c | 0 | true | |
| 5c744e0c08c3220006e23adb | 2019-12-03T21:36:42.887Z | 2019-12-03T21:36:42.887Z | 5c6d7a70f734830006187e67 | user | error | new | Limit Exceeded | 0 | false | |||
| 5c744e0c08c3220006e23adc | 2019-12-03T21:38:37.921Z | 5d65841f1883534006f8a529 | user | error | resolved | Battery Replaced | 5db74712edeaea00063c0c1c | 1 | true |
External URL
You may also include data from an external URL as a dataset within your notebook. Many users pull data from their application’s files, but the source of the data can come from any public address.
Source URL
Enter the URL of where to retrieve the data source here. The source must be available via a GET request over the HTTP or HTTPS protocols (as in, it may not come from an FTP address).

URL Result Format
The result will depend on what is found at the provided URL; it could be (for example) a CSV file, an HTML file, JSON data or even an image.
Query Times
When requesting a data export or executing your notebook, you must pass a “Query Time” to use for that action. This serves as the anchor point against which any device data datasets are built.

You must also set a query time when executing a notebook via the Notebook: Execute Node, though in that case you may default the value to the time of the workflow payload.
Query Time Example
For example, let’s say we set a query time of “Apr 10, 2019 12:00:00”. Given the custom time range defined in the device data example above …
- Start time is the fixed time of “Mar 23, 2019 16:30:55”
- End time is the query time minus 8 hours
Our device data dataset will return all state reports for the given devices and attributes that occurred between Mar 23, 2019 16:30:55 and Apr 10, 2019 04:00:00.
Requesting another execution with a query time of “May 1, 2019 06:00:00” will return state reports between between Mar 23, 2019 16:30:55 and Apr 30, 2019 22:00:00.
Requesting Data Exports
After you have configured all of your notebook’s inputs, you may request a sample export of all datasets. This is useful for developing your Jupyter notebook locally and testing out your code before rolling your notebook out for production use.
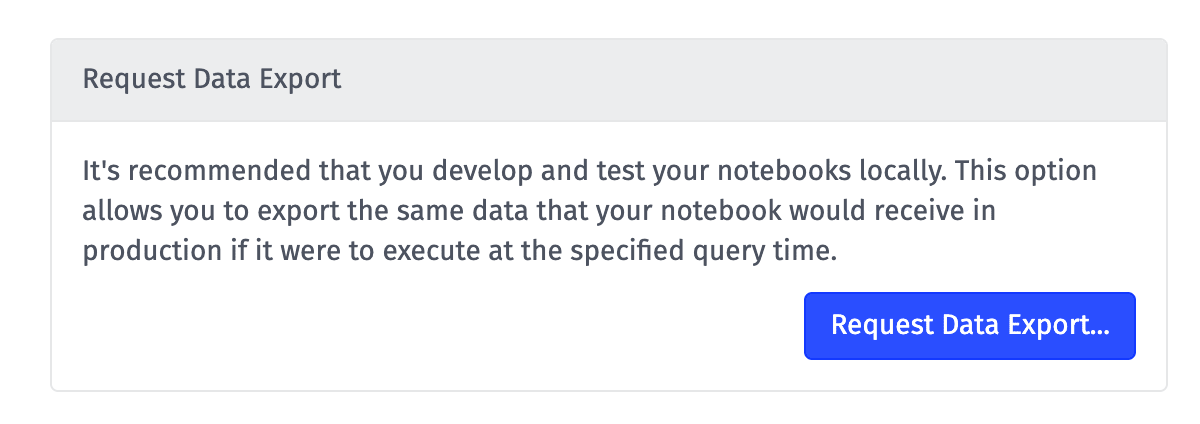
Click the “Request Data Export …” button at the bottom of the “Inputs” tab. This will display a modal asking for an email address, context object, and a query time for the sample data.
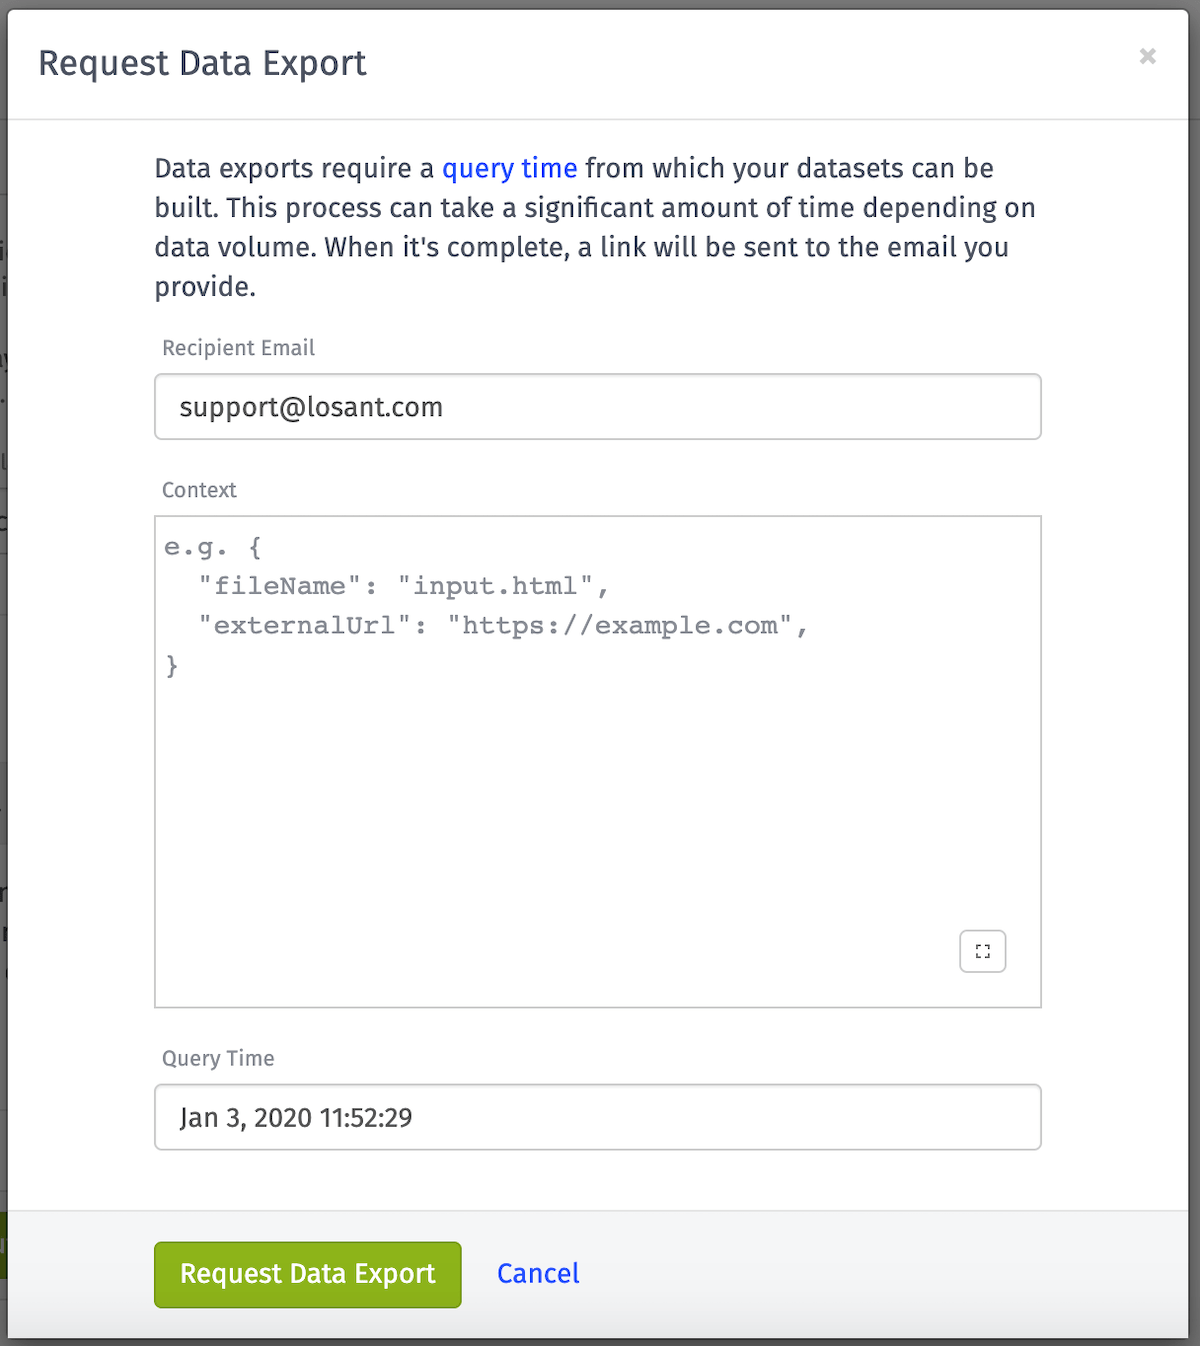
Soon after submitting, you will receive an email with links for where to download each of your datasets. Generating the sample data can take anywhere from a couple seconds to several minutes, depending on the size of the datasets in each of the inputs.
Templating
Templates are supported to dynamically construct input configurations and file names. The following variables are available:
- {{ctx.<variableName>}}: A custom context object
- {{globals.<variableName>}}: Your Application Globals
Was this page helpful?
Still looking for help? You can also search the Losant Forums or submit your question there.
